Image: AI-generated editorial illustration; a fictional scene with no real businesses.
To start watercolour painting, gather suitable paper, a few colours, a brush, water and a cloth. Your first session can be three experiments: dilute one colour, compare an edge on dry and damp paper, and add a layer after the first has dried. You do not need to finish a painting to learn something useful.
A large box of materials can make the first decision harder. A small palette helps you remember what you mixed and repeat a colour you enjoy.
Choose paper before adding more paint
Printer paper is not designed for this kind of work. Winsor & Newton’s paper guide distinguishes smoother hot-pressed surfaces from more textured cold-pressed paper. For these exercises, use a small watercolour pad and keep the paper type consistent. That lets you change one variable at a time.
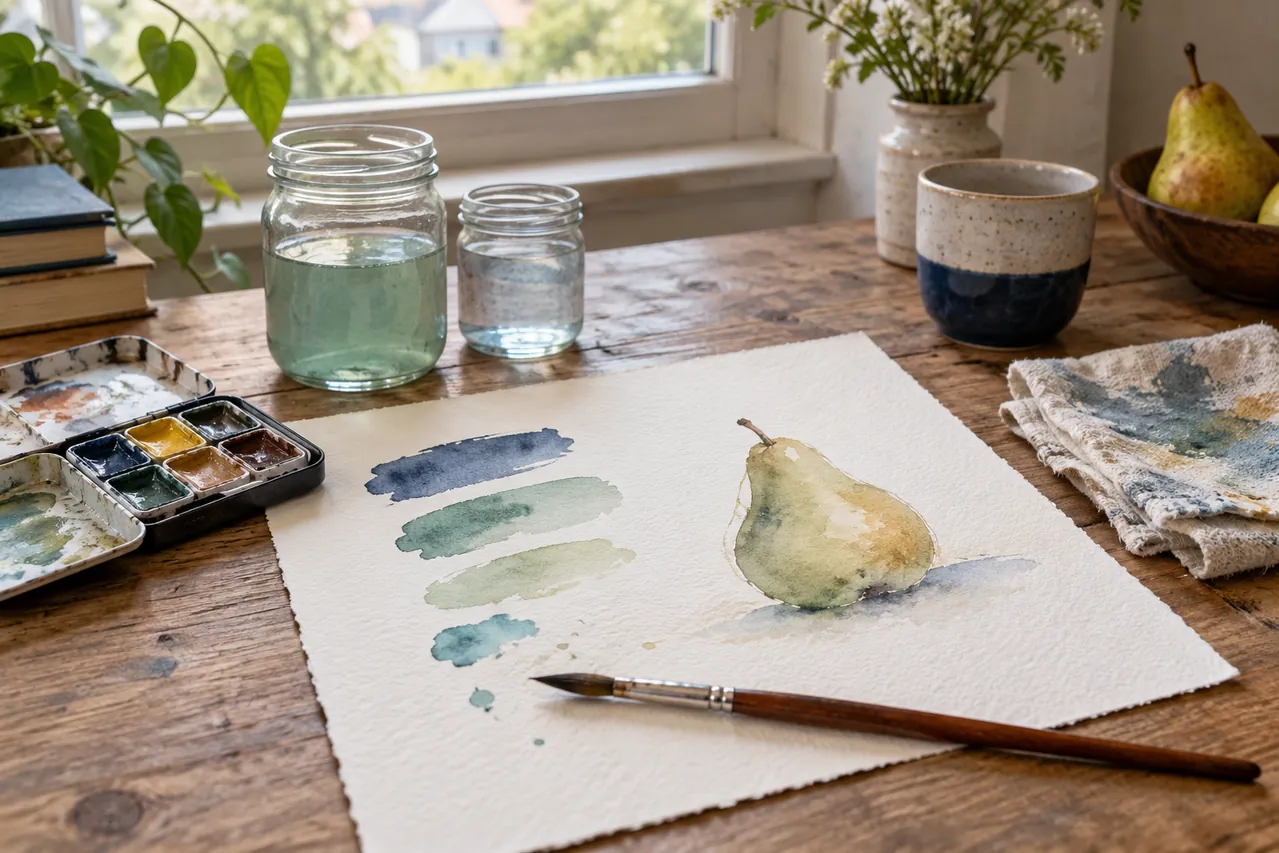
A modest kit is enough: three contrasting colours, a round brush with a recognisable point, a mixing surface and two stable water containers. Use one to rinse the brush and the other for cleaner water. Keep them separate from drinks and follow the instructions on your art materials.
Experiment one: one colour, three strengths
Mix a colour and paint a small patch. Add water to the mixture, rather than another paint, and place a second patch beside it. Repeat once more. Let all three dry before comparing them. Note the colour at the edge of the sheet if you want to repeat the exercise later.
The shapes do not need to match: you are comparing strength. If the second patch looks darker, check whether the brush picked up concentrated paint from the pan or carried more pigment than you expected.
Experiment two: change the paper’s moisture
Make a brushstroke on dry paper. On another area, spread a little clean water and add the same colour while the paper is damp. The wet-on-wet technique allows softer edges and spreading colour. Watch what happens before adding more water.
A puddle moving across the sheet behaves differently from a lightly damp surface. Try less water in a fresh space instead of feeling obliged to rescue every mark.
Experiment three: one layer after another
Paint a pale patch and wait for it to dry before crossing it with another transparent stroke. Compare the overlap with the untouched areas. Winsor & Newton’s layering exercise encourages exploring marks and transparency before attempting a more involved composition.
Keep your intervention light. Repeatedly working the same patch makes it harder to tell whether a change comes from pigment, moisture or rubbing the surface. Keep unsuccessful tests as well: a short note can explain what you would try differently.
Then choose a simple object
Try a pear, cup or leaf. Limit the exercise to a silhouette and a shadow, leaving some paper uncovered. Stop when you have explored what you intended to practise. A second small version can be more useful than endlessly correcting the first without a clear aim.
Do I need several brushes?
Not for these experiments. Start with one you can control, then add another when you know which mark you want to make. To photograph your work, wait until the paper is dry and use even light. Our guide to photographing objects beside a window offers an uncomplicated starting point.
Sources checked on 2 October 2026.